Creating a Keecker app
Goal
This page will guide you through writing your first app that will run on Keecker. It will be very simple and just switch between projecting on the wall and projecting on the ceiling every 5 seconds. Let’s get started!
Prerequisites
- Make sure you have installed Android Studio.
- Although not strictly required, you may want to check “Build your first app” on Android developer website.
Writing the app
Now that we’re all setup, let’s get started writing an application for Keecker!
-
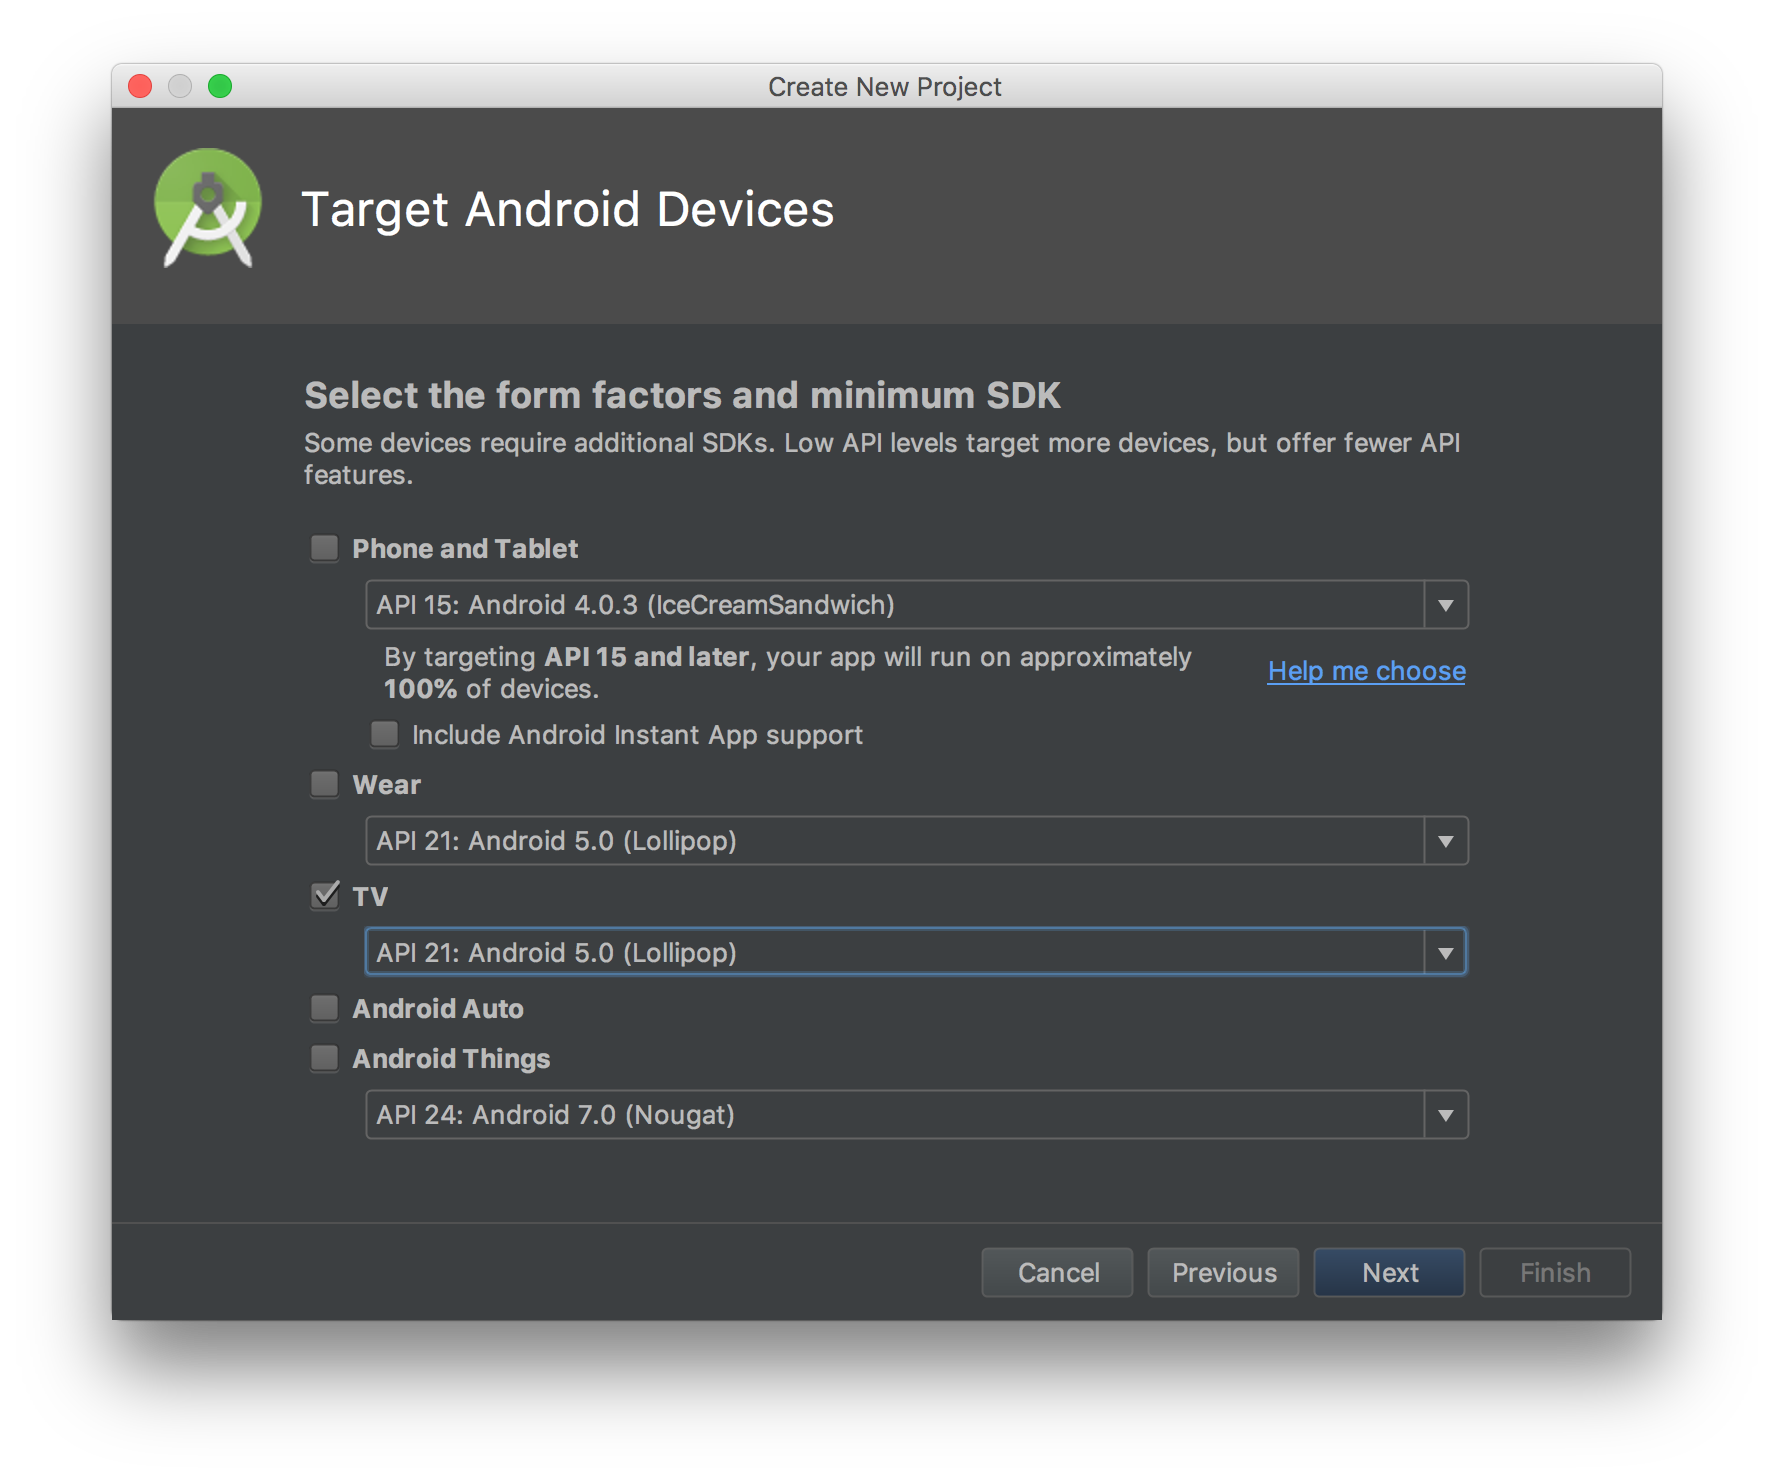
In Android Studio, create a new application with an empty Activity. The only important part here is on the “Target Android Devices” page, select “Android TV” with the default API level.

-
Add the JitPack repository in your root build.gradle at the end of repositories:
allprojects { repositories { ... maven { url 'https://jitpack.io' } } } -
In your application module build.gradle file, add the latest release from JitPack:
dependencies { implementation 'com.github.keecker:services-api:0.2.0-alpha' } -
Sync gradle
-
In your main AndroidManifest.xml, add the following permission to be allowed to move the projector:
<manifest> .... <uses-permission android:name="com.keecker.permission.PROJECTION" /> -
Then add the code that will actually move the projector in your activity:
class MainActivity : Activity() { override fun onCreate(savedInstanceState: Bundle?) { super.onCreate(savedInstanceState) setContentView(R.layout.activity_main2) GlobalScope.launch { val projector = ProjectorClient(applicationContext) while (true) { projector.setState(ProjectorState(orientation = 0)) delay(5000) projector.setState(ProjectorState(orientation = 90)) } } } } -
Connect a USB cable between your computer and Keecker using the port located below Keecker, at the back
-
Build and install your app on Keecker, using Android Studio
-
Click on accept on Keecker
-
Watch the projector wobble